
BrightPay facilitates the importing of employee information in CSV format from Collsoft.
If you are migrating to BrightPay mid-tax year, the employee information can be imported from Collsoft into BrightPay using this import option. The Year to Date figures can then be added manually or by CSV file.
Apologies for the poor representation of Collsoft screens below.
Setting up your Organisation and Employer in BrightPay
Please log in to BrightPay with your Bright ID. If you have already purchased BrightPay or another Bright product or used BrightPay Connect you will already have a Bright ID.
If you do not have a Bright ID, please click Sign up for a Bright ID and follow the steps or select here.
As a new user, when you log into BrightPay, on the Welcome to BrightPay you will have a step-by-step guide on how to set up your information.
Once signed into BrightPay you will need to set up an Organisation. You can set this up under Welcome to BrightPay as Step 1 or under My Organisations.
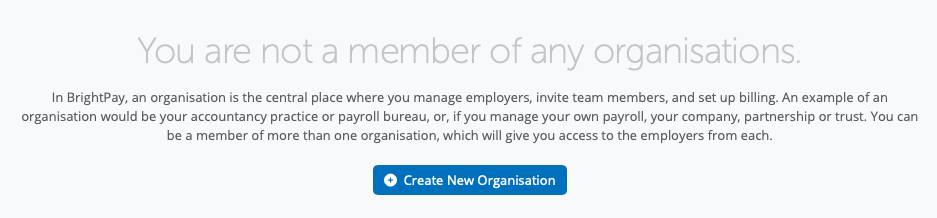
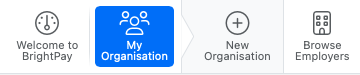
You can select Create New Organisation or create an organisation under > My Organisation > New Organisation
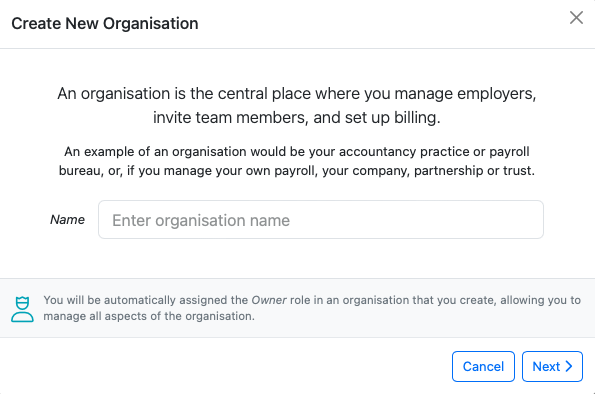
Enter in the name of your Organisation and Select 'Next'.
An Organisation is where employers, team members and billing are managed.
BrightPay is billed monthly at the end of each calendar month based on the total number of active employees across all of the organisation's employers in that month or you have the option of paying annually up front.
Please enter in the number of employers and number of employees in the Annual or Monthly option in order to set up your billing plan.
By default, the owner is set as the Billing Manager when they create the Organisation. This can be changed later if necessary.
You need to add your payment method. Once entered, please select Next.
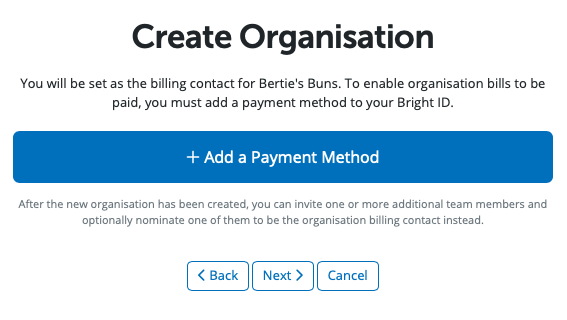
Once all the Organisation's details are entered when you select 'Create Organisation' the organisation will be created.
Creating the Employer in BrightPay Cloud
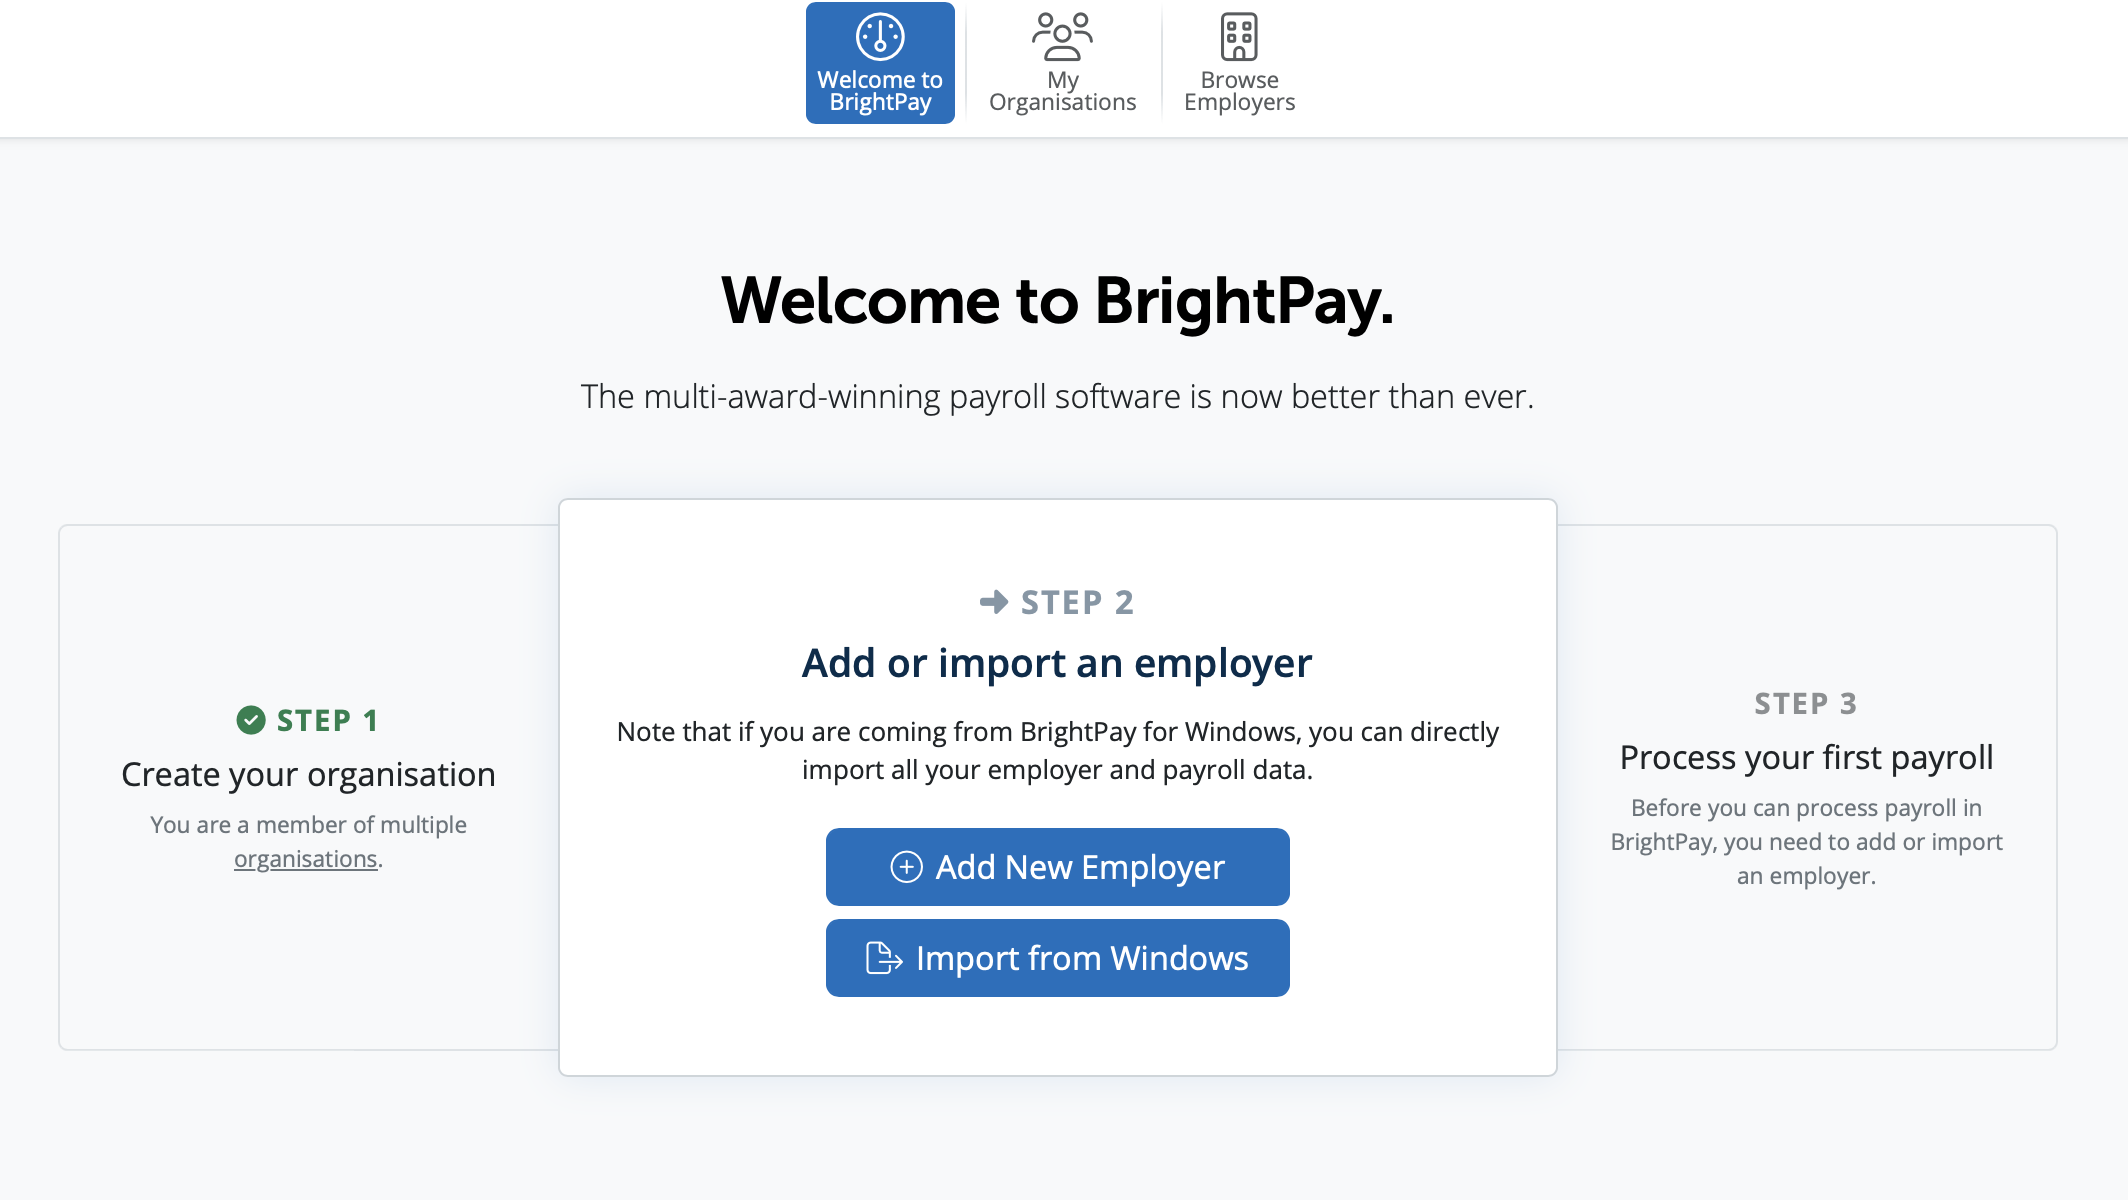
To manually create an employer in BrightPay select Add New Employer.
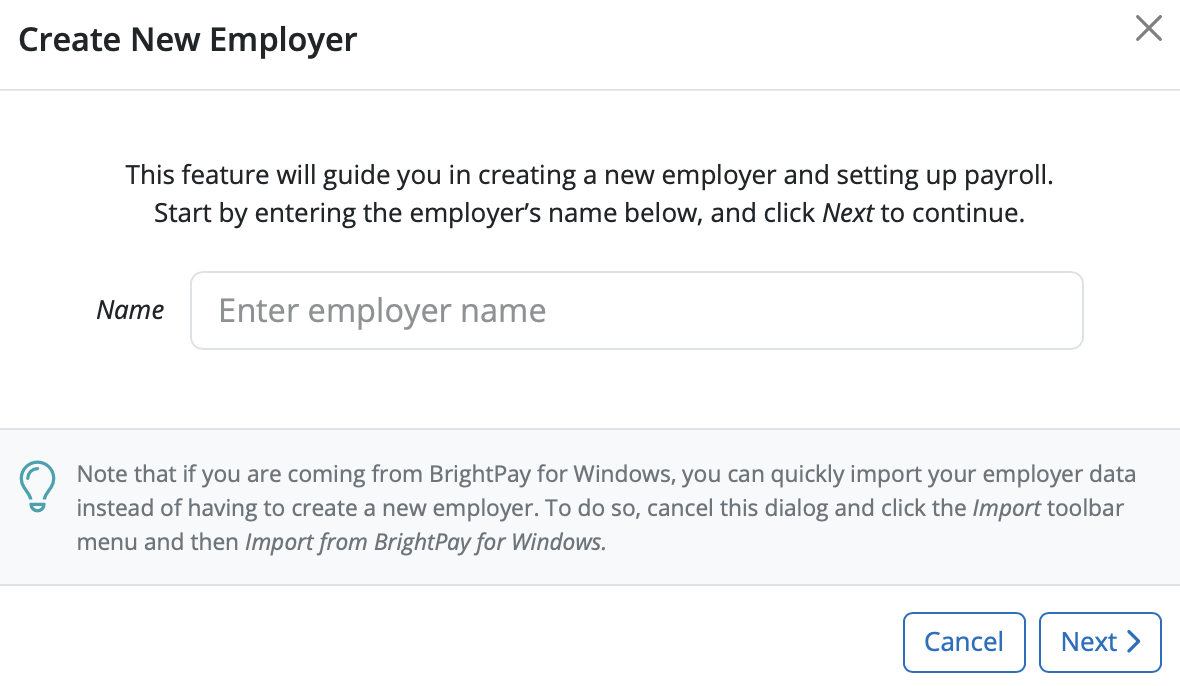
You can manually enter in the name of your employer. This is the name you have registered with Revenue and will appear on the payslips for your employees. Select 'Next'.
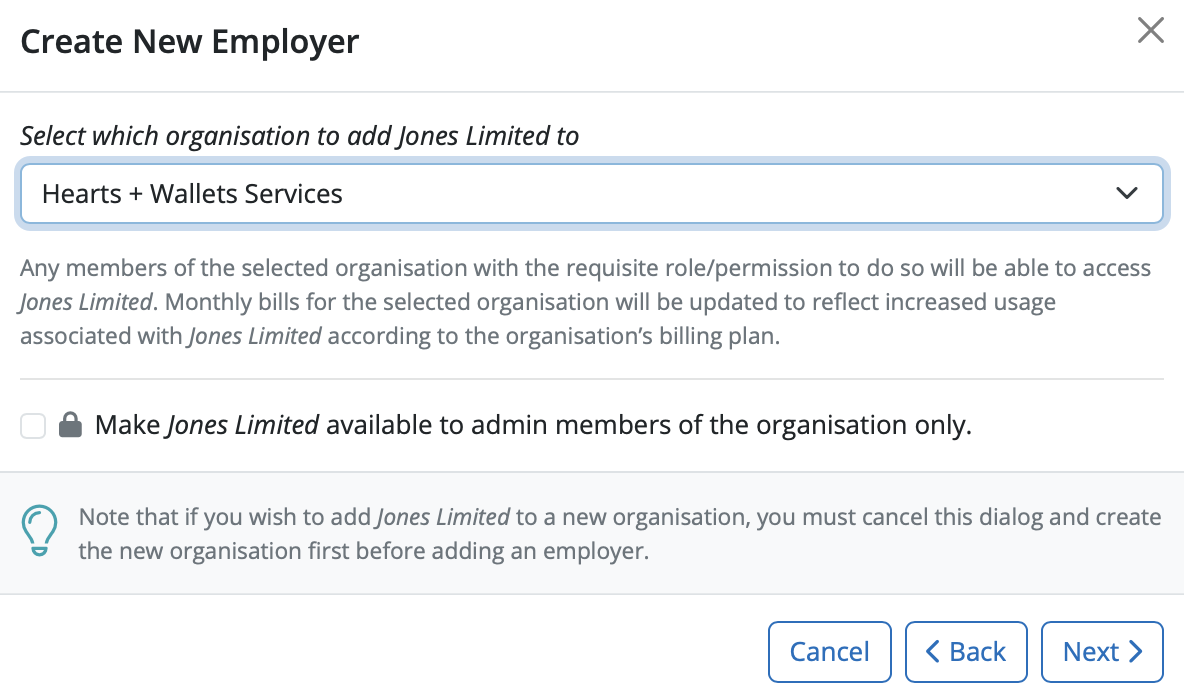
A new employer has to be assigned to an organisation. Select the organisation you wish to add your employer to.
If you wish you can mark an employer as available to admin members of the organisation only. This means that only the owner and administrator members of the Organisation will be able to see this employer when they access BrightPay.
Select 'Next'
You’ll be asked how would you like to use BrightPay – three options are available:
1. Start at the beginning of the tax year - select this option if you are running payroll from the start of the tax year
2. Start Partway in the tax year – you should select this option if you are starting payroll partway in the tax year with no previous payroll records in the same tax year
3. Continue Partway in the tax year – you should select this option if you have already have payroll records for the tax year up to this point and wish to continue from where you have left off.
Selecting this option will allow you to enter in year-to-date figures for each employee.
Select the option you require and Select 'Next'
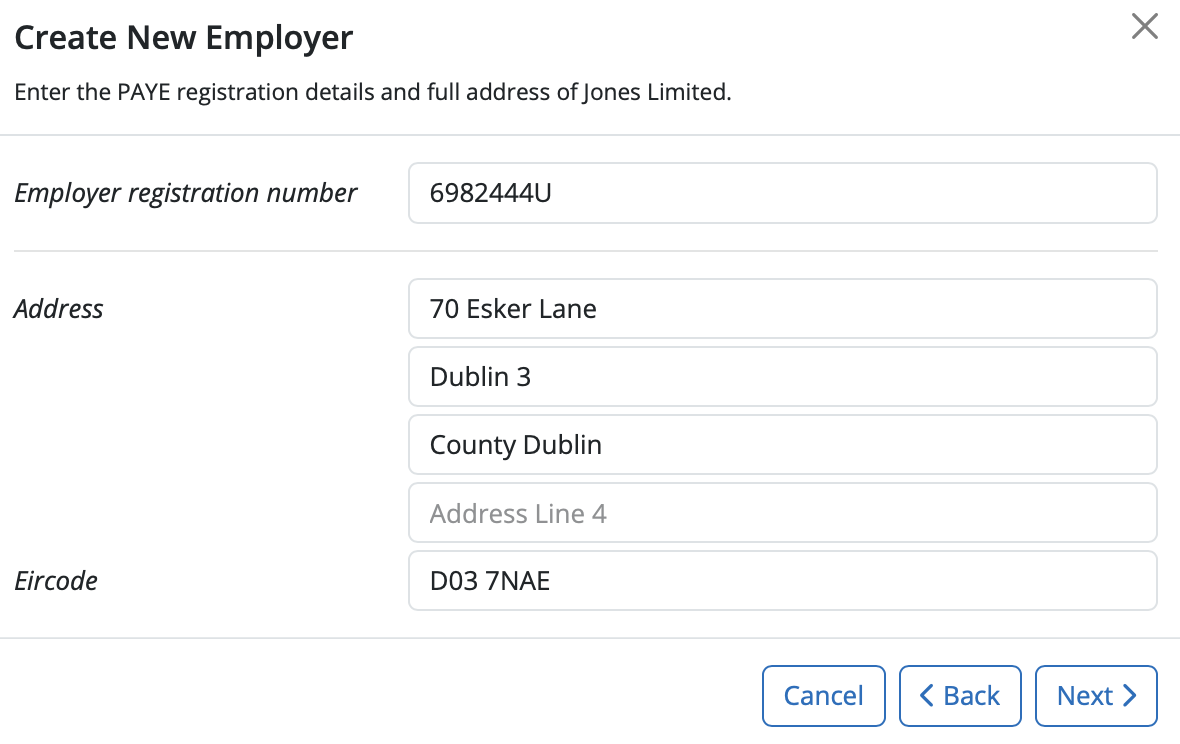
Enter in your PAYE reference and your employer address – click 'Next'
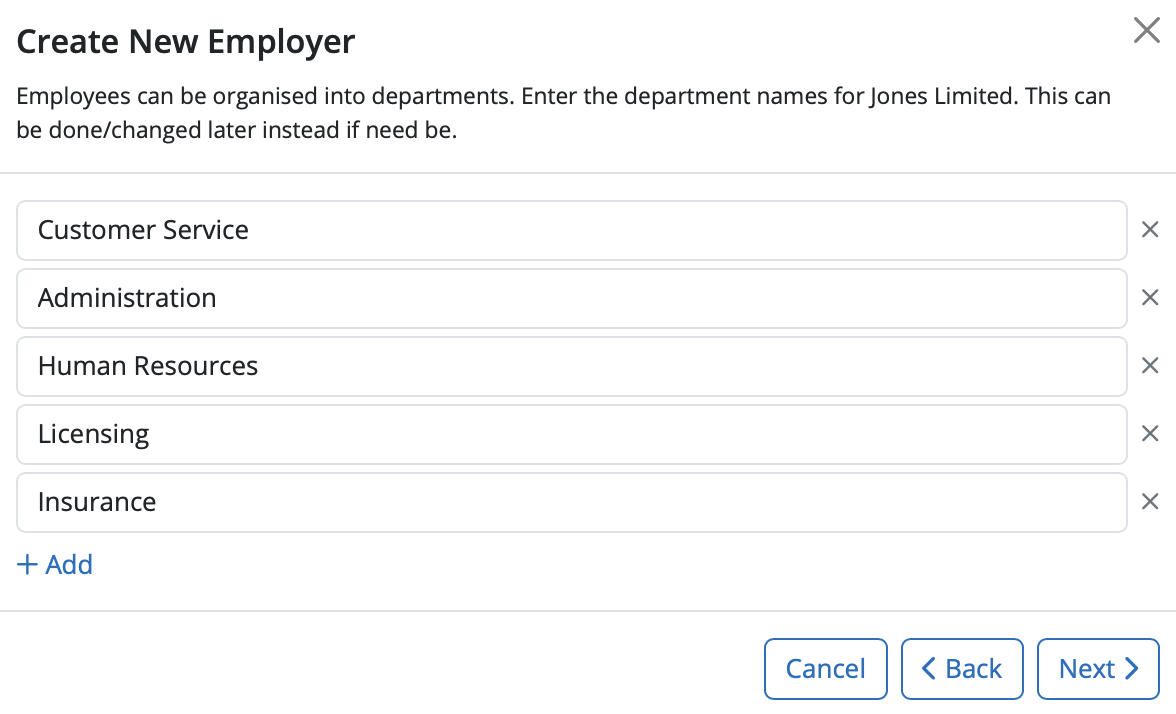
Employees can be organised into departments which can be used in payroll processing and analysis. Enter in the names of each department you require in the fields provided.
Additional departments can be added by selecting add. More departments can be added in the future if required. Click 'Next'
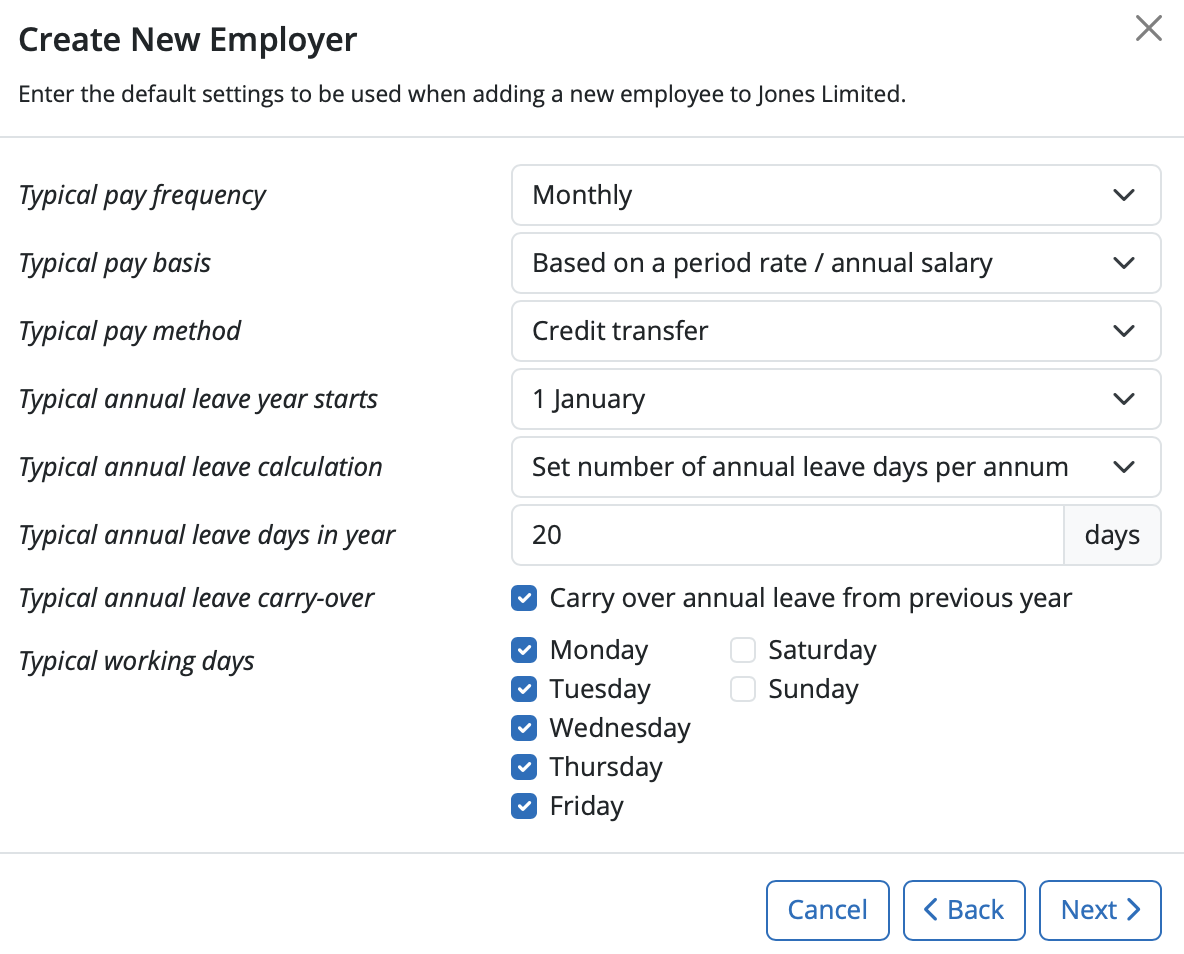
This section allows the user to create settings that will be used as the default when adding a new employee record.
These settings are for the typical pay frequency, pay basis, pay method, annual leave year starts, annual leave calculation method, annual leave entitlement, typical annual leave carry over and typical working days.
Select the settings you require and Select 'Next'
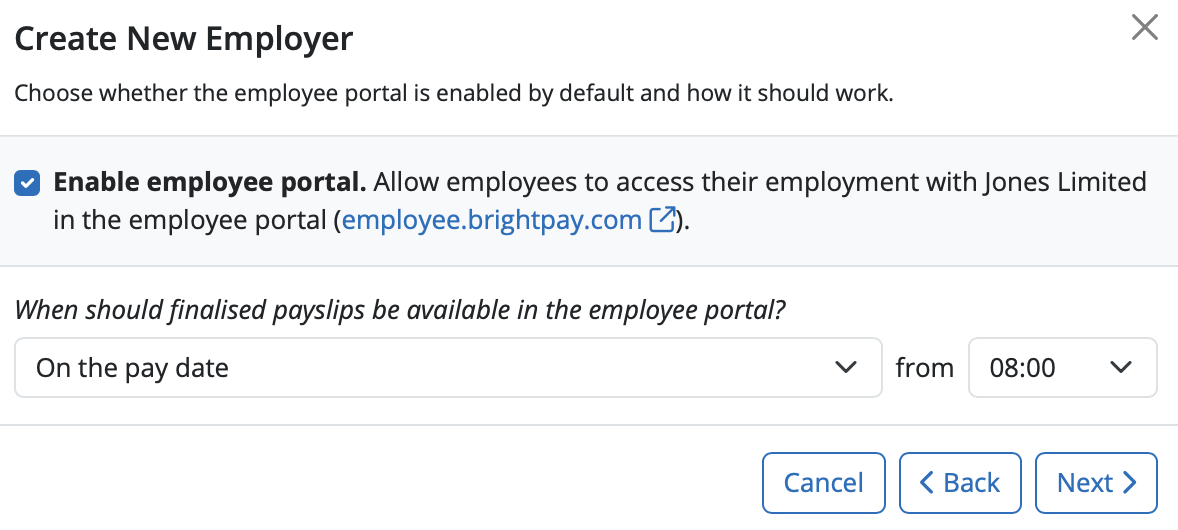
For the Employee Self Service Portal, allow access to all employees is selected by default. This can be unselected if required.
Select the date and time settings you wish employees to access payslips on their Employee Self Service portal.
Select 'Next'
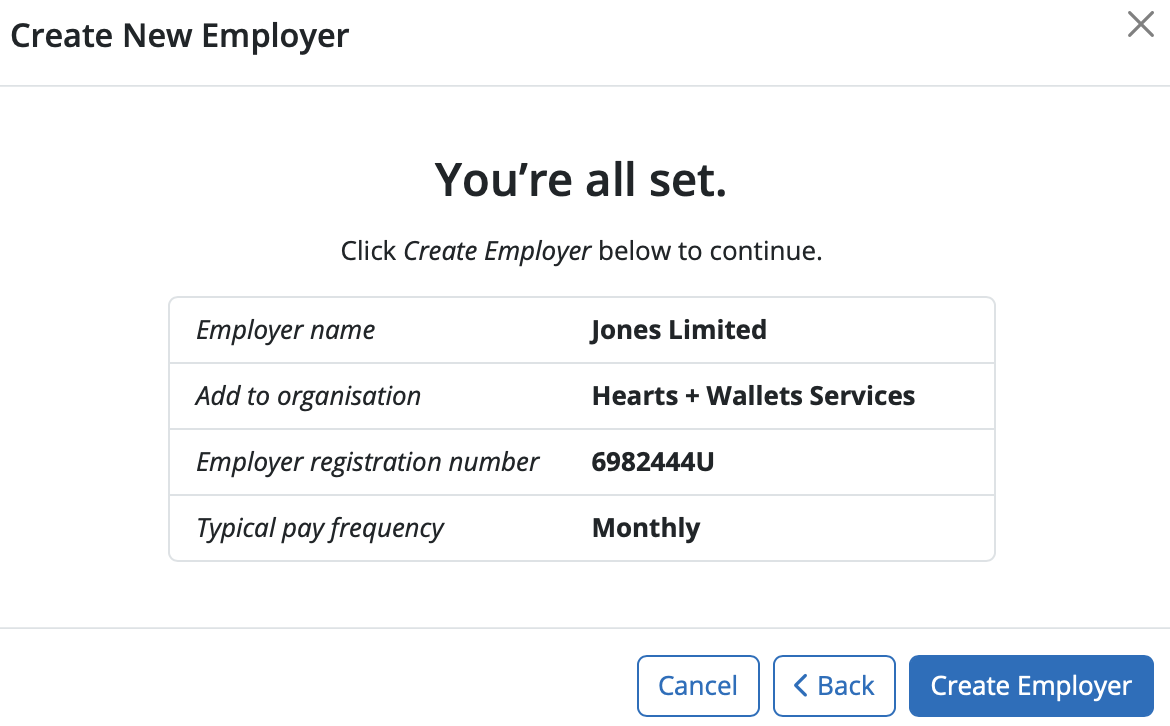
Select Create Employer in order to create the employer.
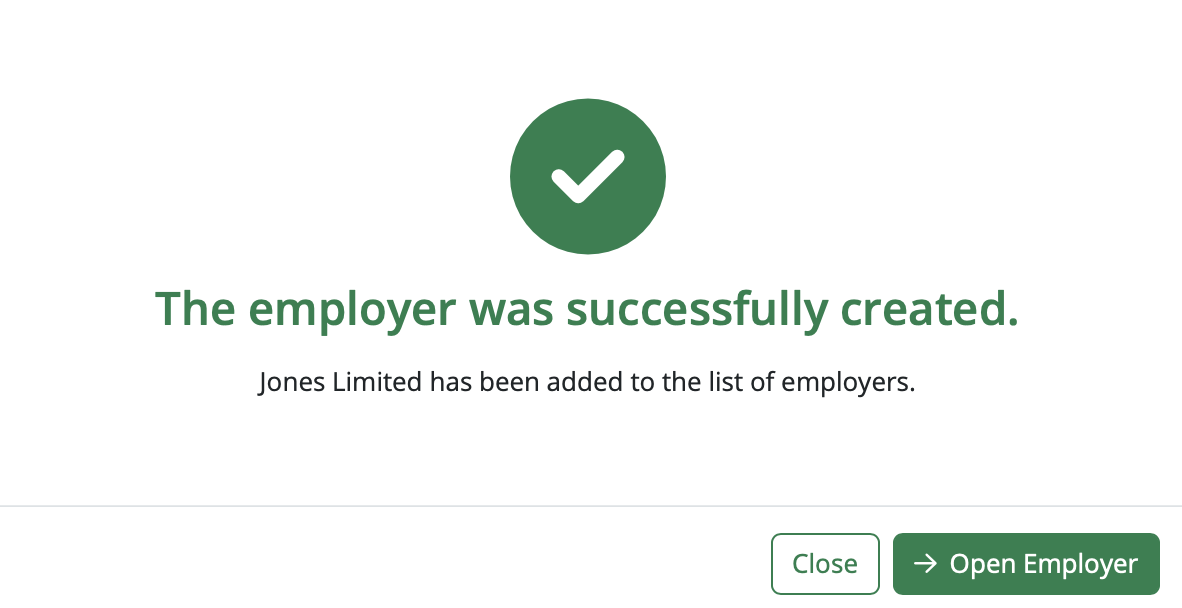
The employer was successfully created and will now be listed on the employer homescreen.
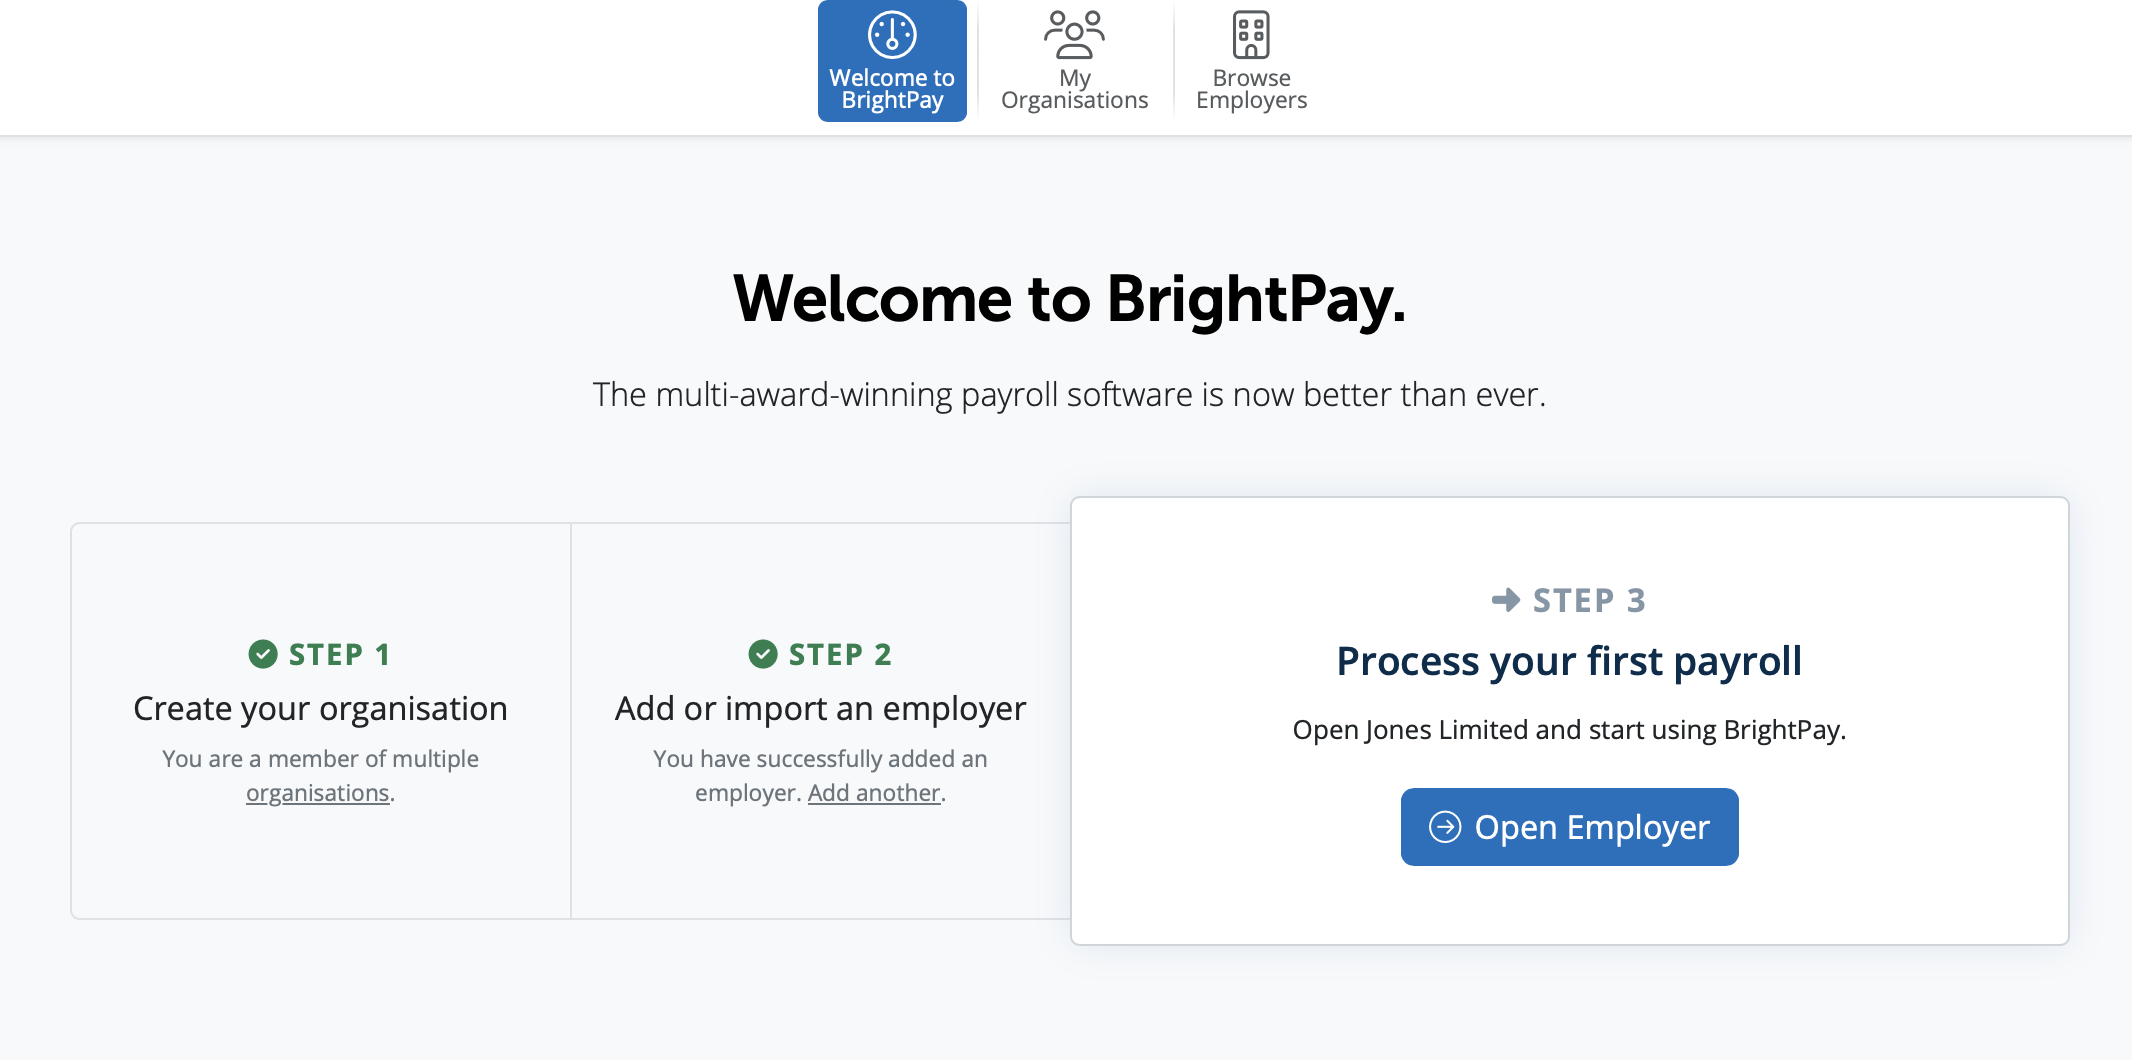
You will be prompted then for Step 3 to open your payroll to start processing your first payroll.
If when adding the Employer Registration Number into BrightPay you get an error 'Value is not a valid Employer Registration Number' - you can double check that the number is in the correct format for BrightPay.
Example: if Revenue has given you an ERN such as 03216251G - BrightPay will not accept this format. You will have to remove the '0' from the start so it is entered 3216251G. This format will be accepted by the software and you can continue setting up the employer.
Export Data from Collsoft
To export your data from Collsoft to CSV file(s), please:
1) First, export your CSV file containing your employee information from within your Collsoft Software
Open Collsoft and log into the company you wish to import:
1 a) Click on File > Export Payroll Data as per below:
1 b) This will export a folder containing six files to the location C > Documents > Collsoft > Exported Data > 2026 (tax year) > “Company Name & Date” as per below:
The CSV file we require is the one named “02 Employees.csv”.
1 c) Login in to the Employer within BrightPay and choose the option to Import employees from CSV or go to the Employee tab> Import&Export> Import/Update employees from CSV File:
Select the CSV file from the location: C > Documents > Collsoft > Exported Data > 2026 > “Company Name & Date” > “Employees.csv” > Hit Continue and then match up the columns with the data you wish to import:
CSV file includes:
- Works Numbers (column B)
- Employment ID’s (column F)
- PPS Number (column E)
- Name & Surname
- D.O.B (column G)
- Address including County & Eircode
- Email Address (H)
- Phone Number (I)
- Bank Account Information - Sort code, Bank Account Number, BIC, IBAN (columns J to M)
- Start Date (U)
- Leave Date (W)
CSV doesn’t include:
- YTD Figures
- Pay Frequency (Listed as numbers)
- Gender (It comes as “1” or “2” which BP will not accept)
*Gender is not mandatory in BrightPay Cloud; however by default the employee’s gender will be imported as male
- Directorship
- PRSI Class
- Pay Amounts (Periodic or Hourly / Daily)
Information will need to be reviewed, and missing information added.
Locating and Adding YTD Totals:
The Employees CSV file that has been imported doesn’t have any year-to-date figures included, so the year-to-date information will need to either be entered manually within BrightPay or populate a CSV file with the figures to import them/update the existing records from CSV.
To find the best place to find the YTD information, Open Collsoft > Click on the Employee option at the top of the screen > Add / Edit Employees as per below:
Then select the employee from the dropdown box and go to the YTD tab
Some of the important information that needs to be entered into the Employees menu > Mid Year Totals is referenced above.
These year to date figures are just from this employment . Previous employment figures (if applicable) will come in when the RPN is imported in BrightPay or you can view them from the “Revenue tab” within the employees menu as per below:
If you have migrated to BrightPay mid-year, any mid-year cumulative pay information imported in via your CSV file can also be viewed here in each employee’s ‘Mid-Year Totals’ section.
You may need to set up pay items which could not be imported from Collsoft such as rates, additions/deduction types, pension details, benefits in kind, employer bank details etc.
To add a Revenue Digital Certificate, click here
Following the import, further employee information can be manually entered within 'Employees', if required. Alternatively, you may wish to update missing employee information using CSV file, for more details, click here Updating Existing Employee Details from a CSV File
Migration Checklist may assist you with the migration process and setup.
It is also recommended that all employee details are reviewed before processing any payroll to ensure information imported in is correct and applicable for the tax year in question.
After reviewing your employee and employer information, simply click the 'Payroll' tab to commence processing payroll.
Need more help with your migration? Email brightpayirelandmigration@brightsg.com
Comments
0 comments
Article is closed for comments.