
BrightPay facilitates the importing of employee information from Sage via Direct Import to BrightPay Desktop. The employer file that is created by BrightPay Desktop can then be uploaded to BrightPay Cloud.
If you are migrating to BrightPay mid-tax year, the employee information and Year to Date figures can be imported from Sage into BrightPay using this import option.
Setting up your Organisation and Employer in BrightPay
Please log in to BrightPay with your Bright ID. If you have already purchased BrightPay or another Bright product or used BrightPay Connect you will already have a Bright ID.
If you do not have a Bright ID, please click Sign up for a Bright ID and follow the steps or select here.
As a new user, when you log into BrightPay, on the Welcome to BrightPay you will have a step-by-step guide on how to set up your information.
Once signed into BrightPay you will need to set up an Organisation. You can set this up under Welcome to BrightPay as Step 1 or under My Organisations.
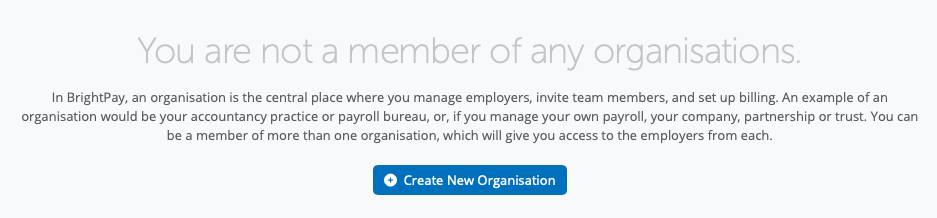
You can select Create New Organisation or create an organisation under > My Organisation > New Organisation
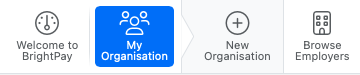
Enter in the name of your Organisation and Select 'Next'.
An Organisation is where employers, team members and billing are managed.
BrightPay is billed monthly at the end of each calendar month based on the total number of active employees across all of the organisation's employers in that month or you have the option of paying annually up front.
Please enter in the number of employers and number of employees in the Annual or Monthly option in order to set up your billing plan.
By default, the owner is set as the Billing Manager when they create the Organisation. This can be changed later if necessary.
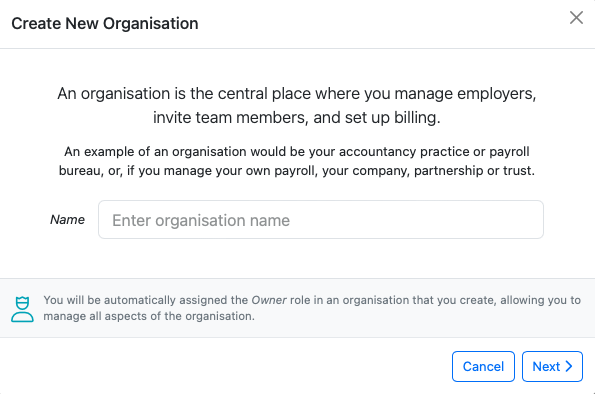
You need to add your payment method. Once entered, please select Next.
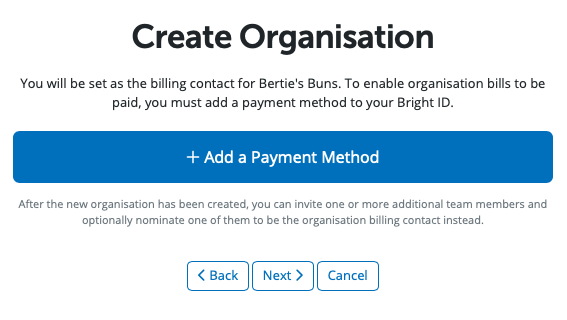
Once all the Organisation's details are entered when you select 'Create Organisation' the organisation will be created.
Download BrightPay Desktop
You will need to Download BrightPay Ireland Desktop 2026 32-bit version from the following page:
Please note, the 32-bit version of our software needs to be used for the direct import option.
You will need to follow the installation steps for BrightPay Desktop and then open the software once completed.
- To begin the import, simply click on the ‘Import Employer’ button at the bottom of the ‘Open Employer’ screen and select 'Import from Sage/MicroPay'.
- Choose the option 'Continue 2026 Mid Year':
-
Browse to the location of your Sage/MicroPay data file(s).
The default location for the data files is C:/ Program Data / MicroPay Professional / and select the folder for the year you wish to import e.g. if you wish to import from 2026, select the '2026' folder.
BrightPay will read the contents within this folder and then display your list of companies. Simply select which companies you wish to import. - Once the import process is completed, the company will be displayed on the Open / Create Employer menu within BrightPay Desktop. We can then close the software.
Upload the Employer File to BrightPay Cloud
Within BrightPay Cloud, go to the Browse Employers menu and choose the option ‘Import from BrightPay for Windows’. Read the Post-Import Checklist.
Select the employer file(s) you wish to import, and BrightPay will import your employer.
To import multiple employers, press and hold the ‘Shift’ key on your keyboard and select the employer files you wish to import.
To import multiple employers, select the Shift key on your keyboard and select the multiple employer files you wish to import. You can import up to 10 employers per batch.
*Need help? Click here.
Open your employer.
Select Open employer to access your payroll data. If you wish to import another company, click the icon with the company name in the top left corner, then click Import from Windows and follow the process.
Important Notes - please read
Please note: where an employee had had previous employment in the same tax year, the employee's 'taxable pay to date', 'tax to date', 'usc-able pay to date', 'usc to date', 'employee PRSI-able pay to date', 'employer PRSI-able pay to date' and 'pensionable pay to date' amounts that are imported in from SAGE will include 'previous employment' figures.
As these previous employment amounts will already be catered for in within the Starter Details section of the employee's record in BrightPay, users must ensure that the employee's 'taxable pay to date', 'tax to date', 'usc-able pay to date', 'usc to date', 'employee PRSI-able pay to date', 'employer PRSI-able pay to date' and 'pensionable pay to date' amount within their 'Mid Year Totals' utility are reduced by these amounts prior to processing any payroll.
If you have migrated to BrightPay mid-year, any mid-year cumulative pay information imported in via your CSV file can also be viewed here in each employee’s ‘Mid-Year Totals’ section.
You may need to set up pay items which could not be imported from Sage such as rates, additions/deduction types, pension details, benefits in kind, employer bank details etc.
To add a Revenue Digital Certificate, click here
Following the import, further employee information can be manually entered within 'Employees', if required. Alternatively, you may wish to update missing employee information using CSV file, for more details, click here Updating Existing Employee Details from a CSV File
Migration Checklist may assist you with the migration process and setup.
It is also recommended that all employee details are reviewed before processing any payroll to ensure information imported in is correct and applicable for the tax year in question.
After reviewing your employer and employee information, simply click the 'Payroll' tab to commence processing payroll.
Need more help with your migration? Email brightpayirelandmigration@brightsg.com
Comments
0 comments
Article is closed for comments.