
In order to log into BrightExpenses, you will need a Bright ID.
-
You can sign up for a Bright ID here
- Click ‘sign up’ to create your Bright ID
Please note, if you have already signed up for BrightPay Connect, you can use the same credentials to sign in here. If this is the case, please skip to step 3.
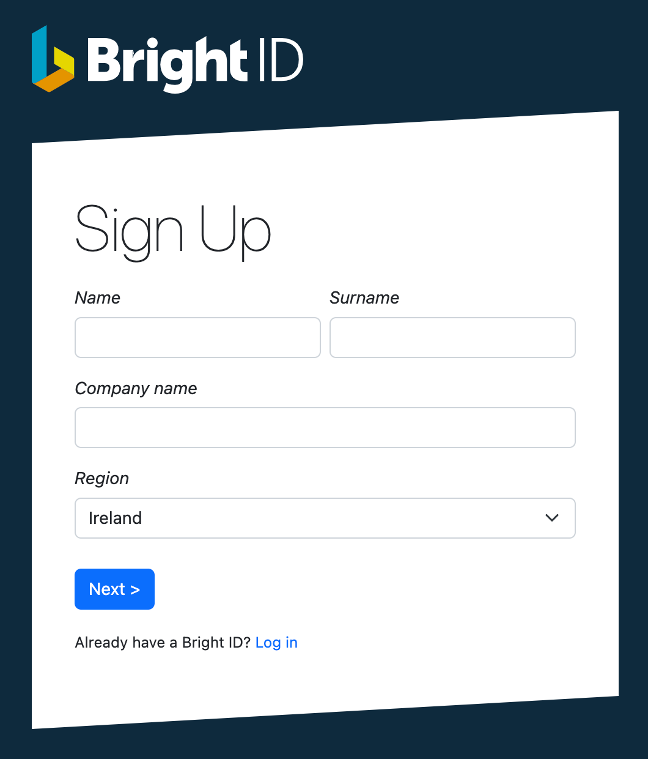
- Enter your full name, company name and region. Click ‘Next’.
- On the next screen enter your email address and create your password.
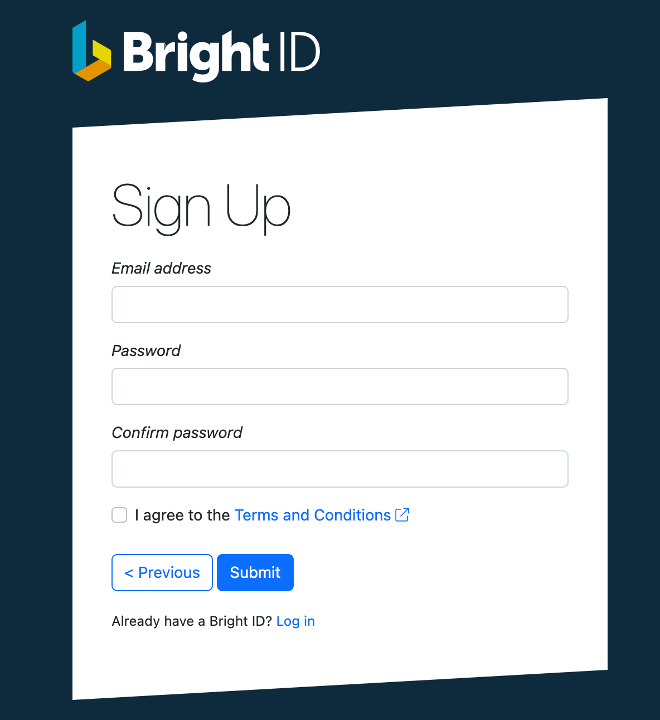
- Once you have read and agreed to the Terms and Conditions, click Submit. There is also an option at this point to go back if you’ve made any mistakes.
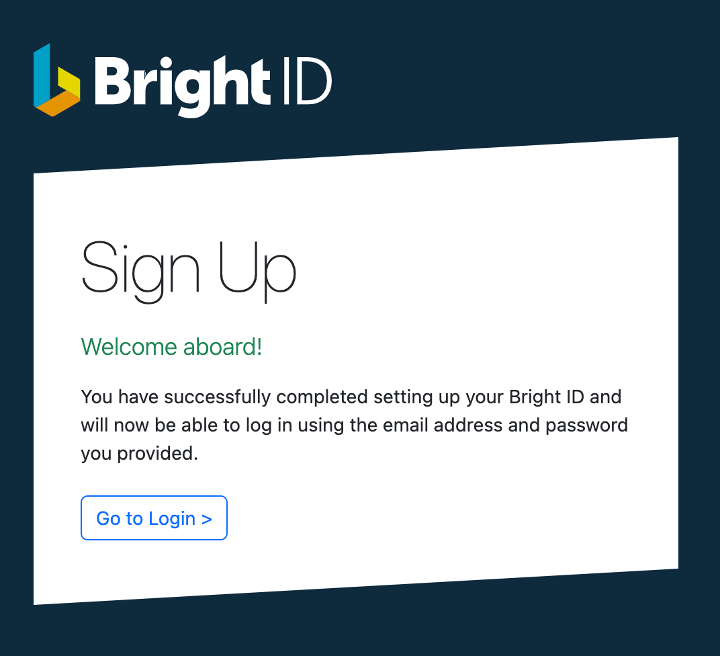
- Once these steps are complete you will receive an email with a 6 digit verification code. If you can’t locate your verification code email, try checking your spam folder.
- After clicking ‘confirm account’, you will see confirmation that your Bright ID is successfully set up and you are now ready to login.
- Enter your full name, company name and region. Click ‘Next’.
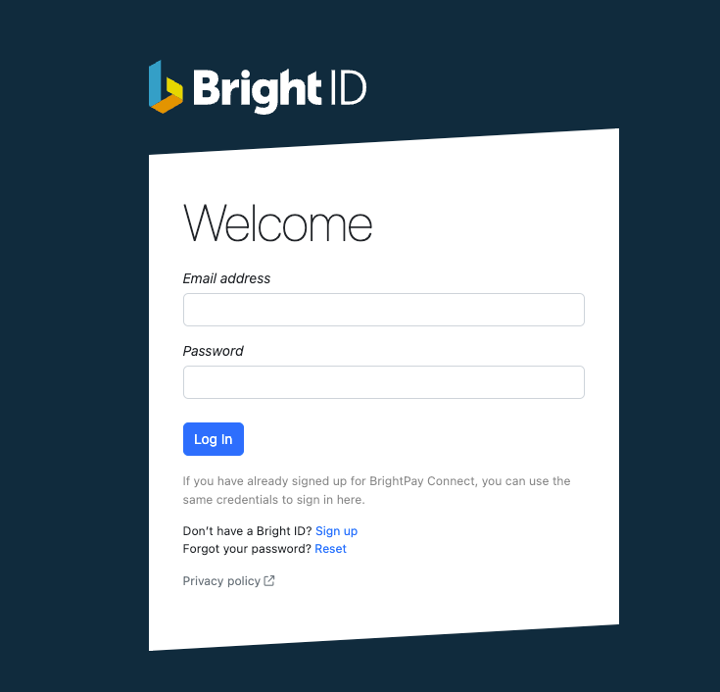
- To login to your BrightExpenses account, enter your email address and password.
Comments
0 comments
Article is closed for comments.