
To import an employer file from BrightPay desktop into BrightPay select Import from Windows.
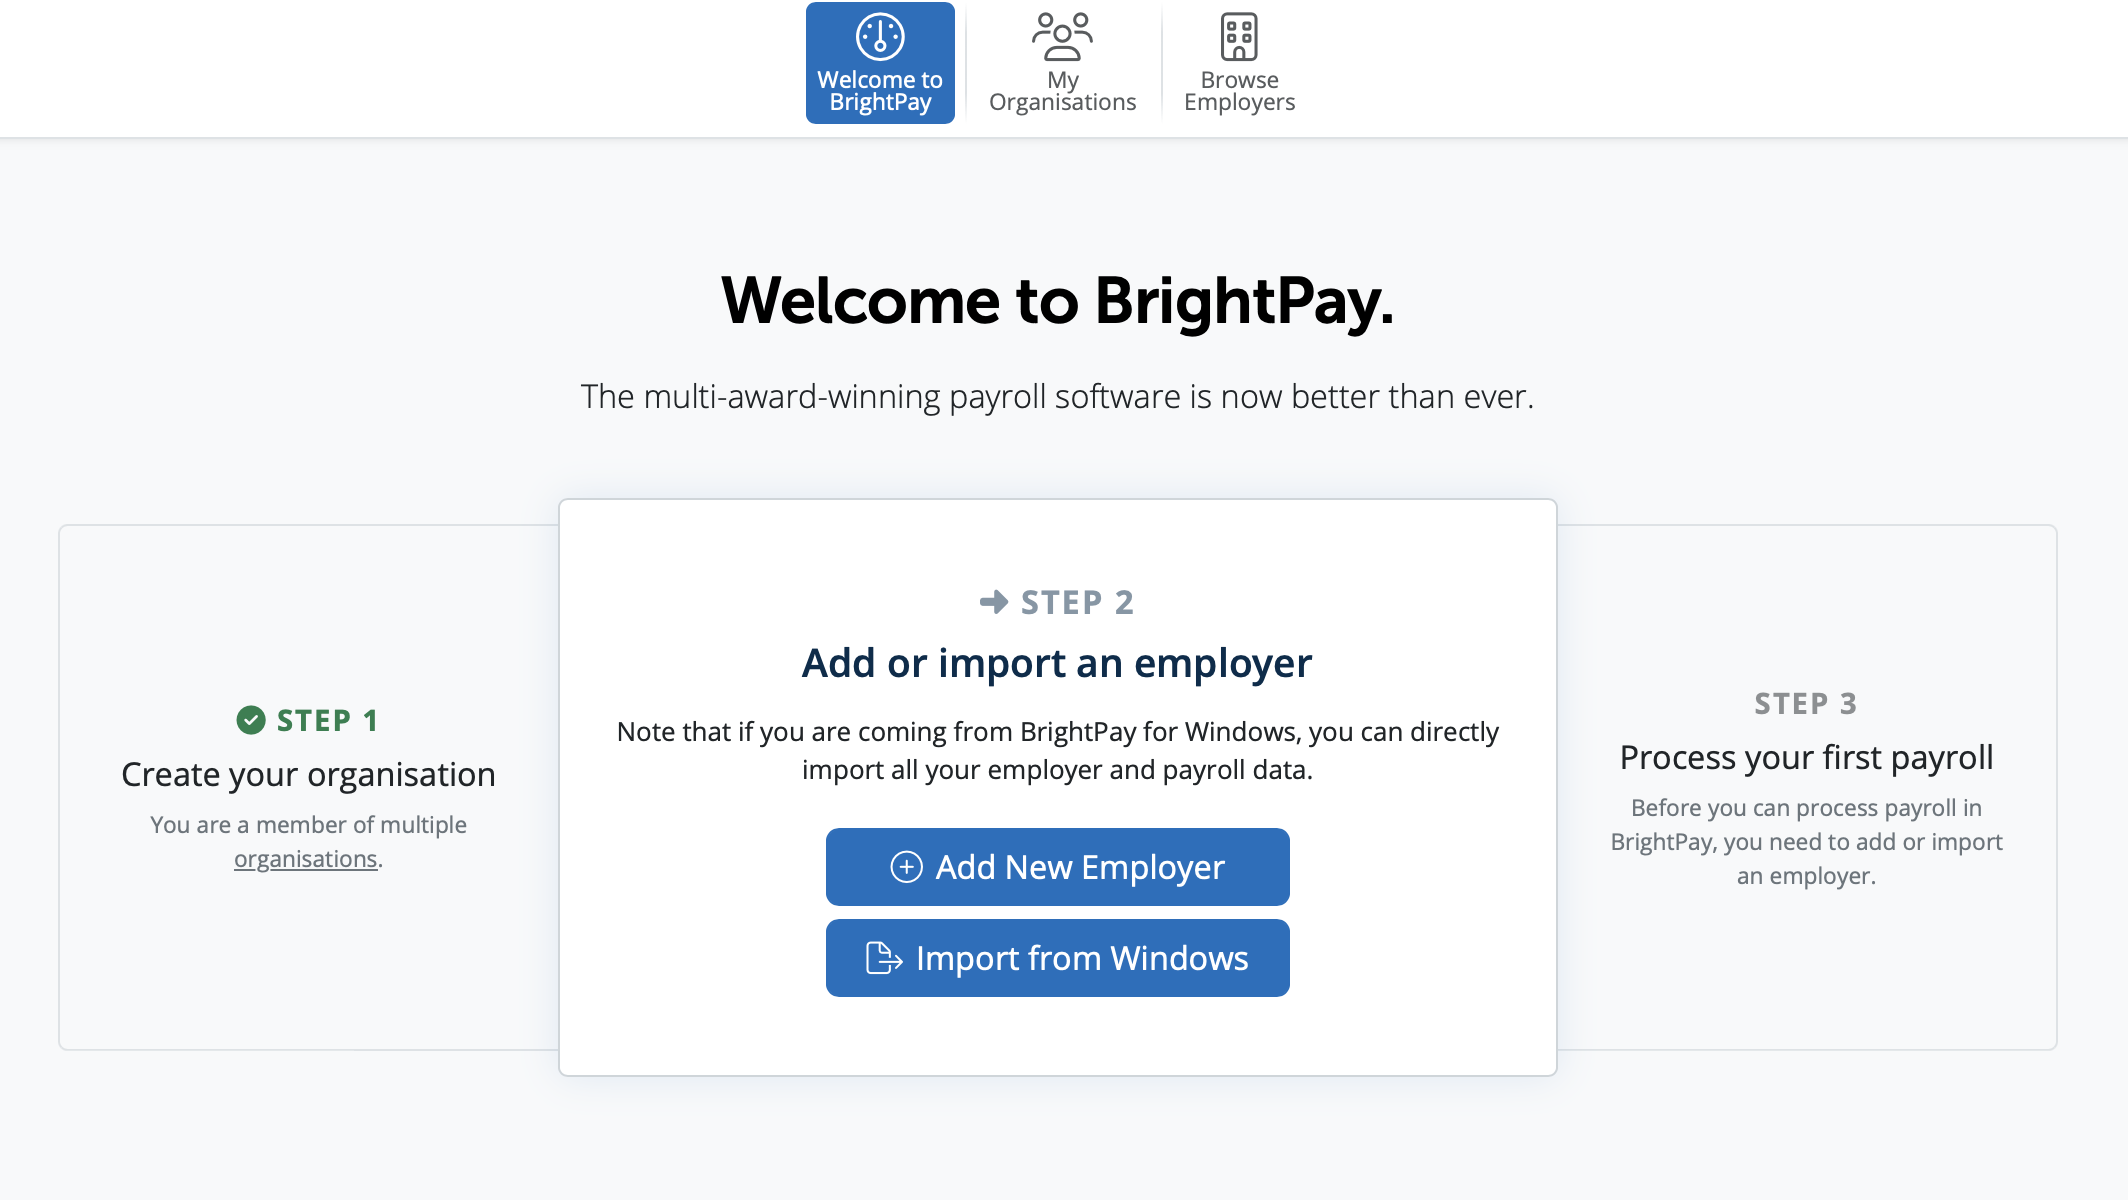
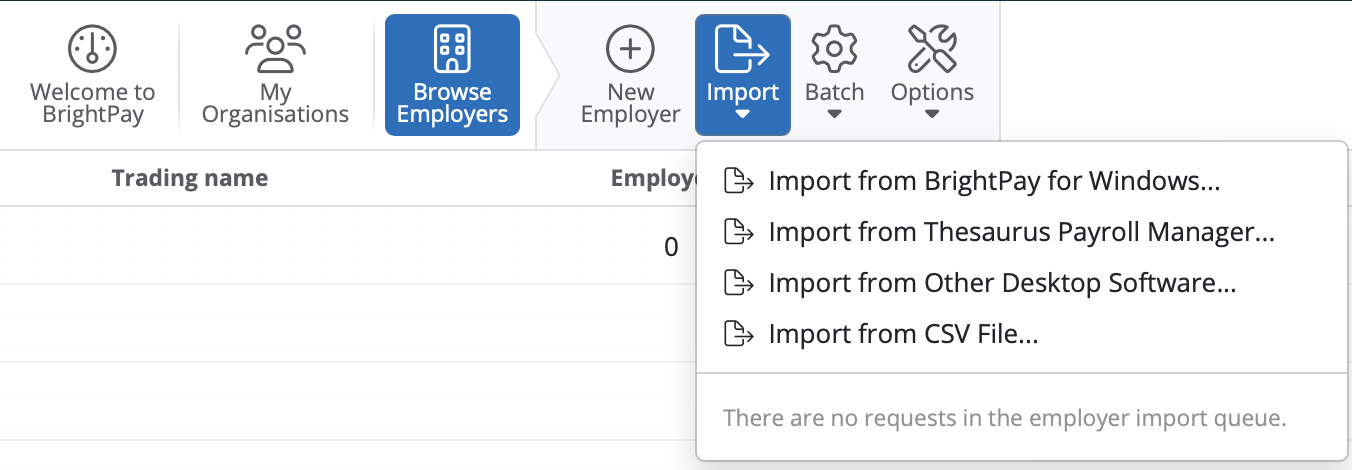
Or you can To start importing an employer into BrightPay please select the Browse Employers option.
In order to import into BrightPay from BrightPay for Windows you will need to select the option of Import > Import from BrightPay for Windows
Every employer imported or created in your account needs to be added to an organisation. Select the organisation you wish to import your employer file into
In order to import the employer please click select data file to upload. Then browse to where your employer files are saved. Please select the employer file you wish to import and select upload.
If you have multiple employers you wish to import at the same time, please select shift and select the multiple employer files you wish to import and then select upload.
The employer files will start to import into BrightPay. This should take about 30 seconds. The employer files will be highlighted in green once they are imported successfully
The employer details will be displayed on the employer homescreen now.
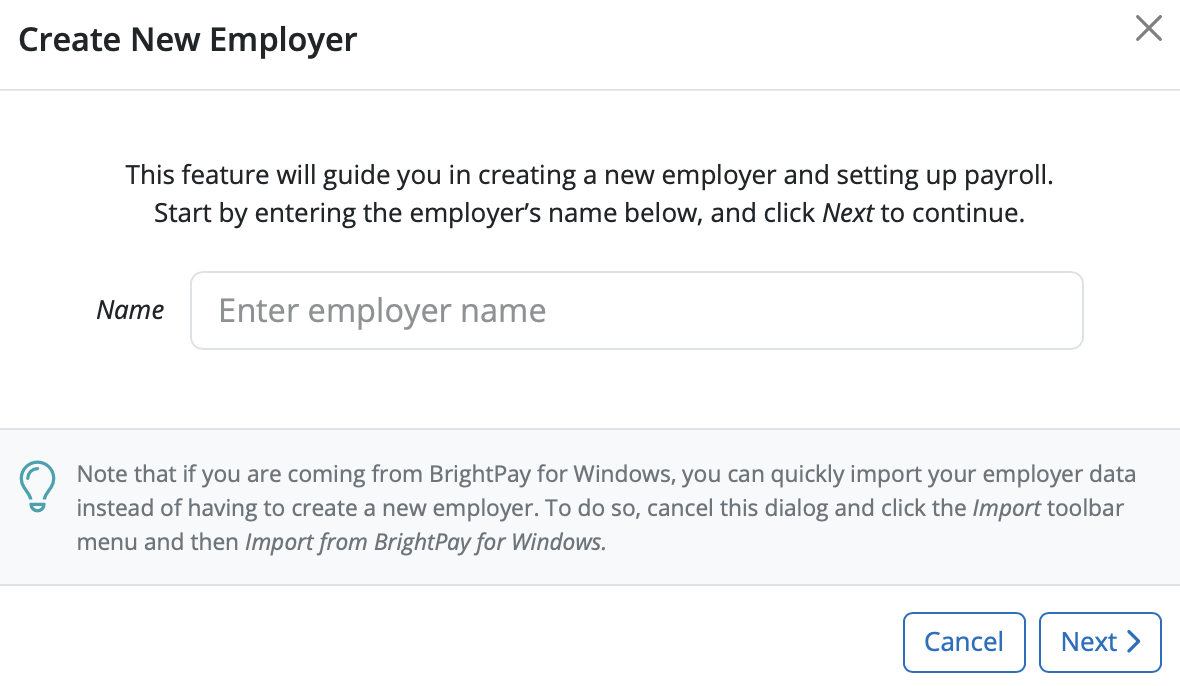
You can manually enter in the name of your employer. This is the name you have registered with Revenue and will appear on the payslips for your employees. Select 'Next'.
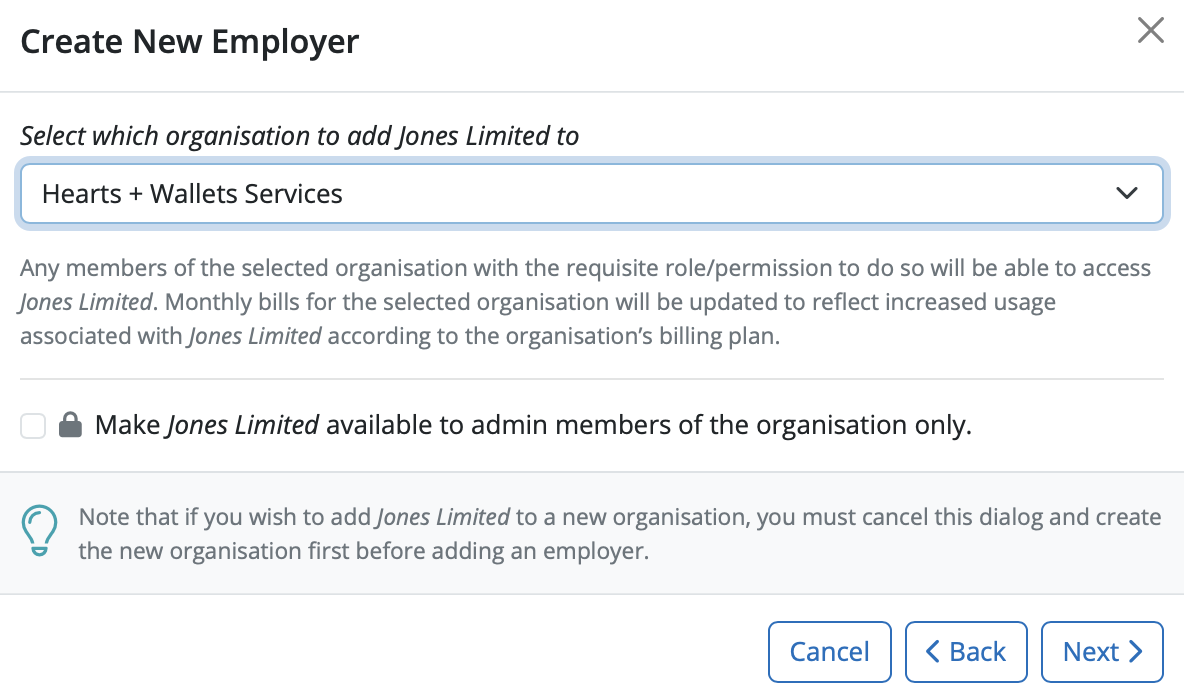
A new employer has to be assigned to an organisation. Select the organisation you wish to add your employer to.
If you wish you can mark an employer as available to admin members of the organisation only. This means that only the owner and administrator members of the Organisation will be able to see this employer when they access BrightPay.
Select 'Next'
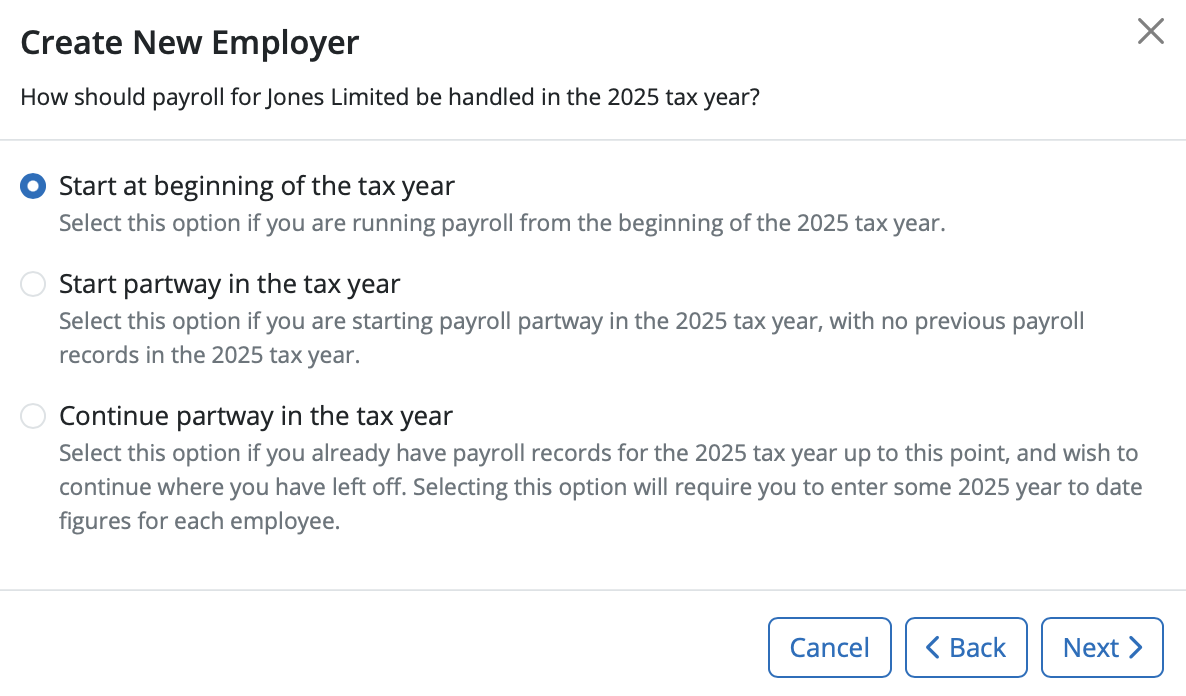
You’ll be asked how would you like to use BrightPay – three options are available:
1. Start at the beginning of the tax year - select this option if you are running payroll from the start of the tax year
2. Start Partway in the tax year – you should select this option if you are starting payroll partway in the tax year with no previous payroll records in the same tax year
3. Continue Partway in the tax year – you should select this option if you have already have payroll records for the tax year up to this point and wish to continue from where you have left off. Selecting this option will allow you to enter in year-to-date figures for each employee.
Select the option you require and Select 'Next'
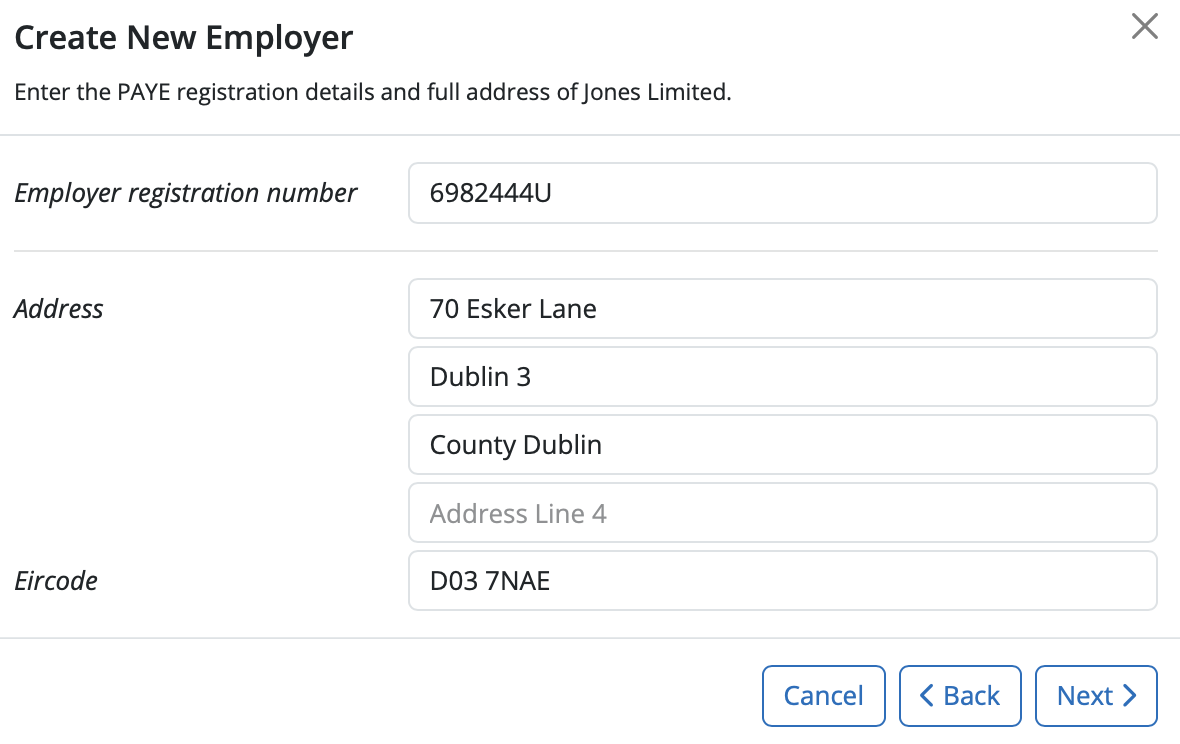
Enter in your PAYE reference and your employer address – click 'Next'
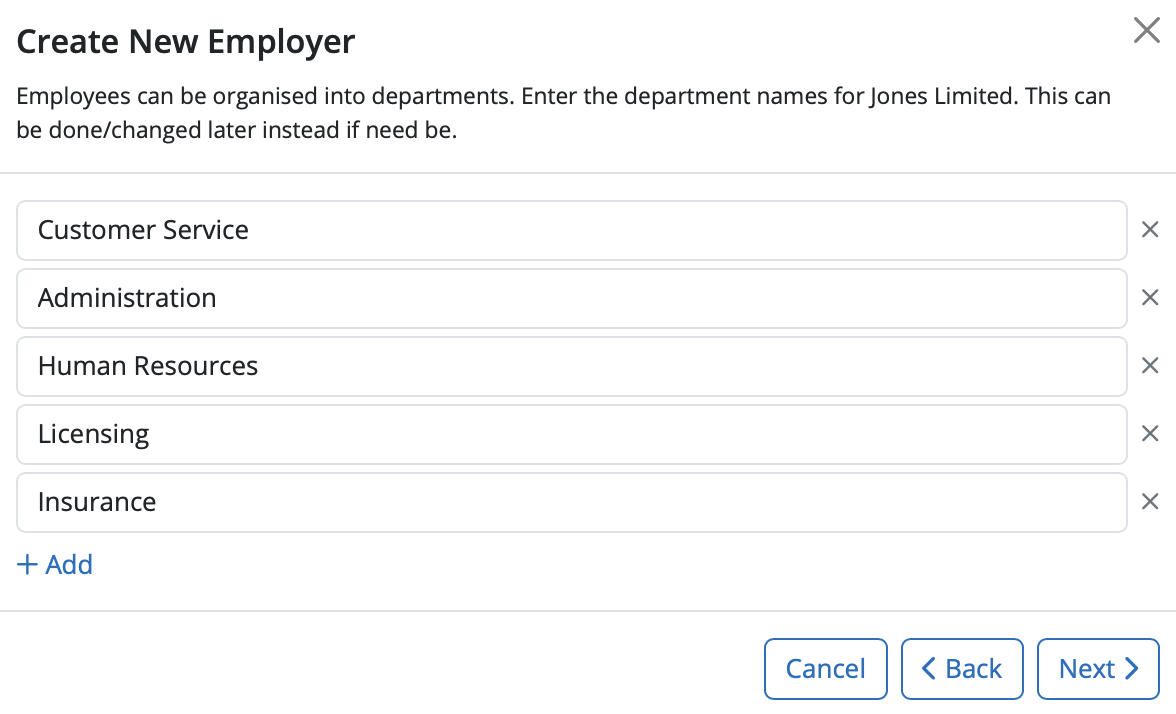
Employees can be organised into departments which can be used in payroll processing and analysis. Enter in the names of each department you require in the fields provided.
Additional departments can be added by selecting add. More departments can be added in the future if required. Click 'Next'
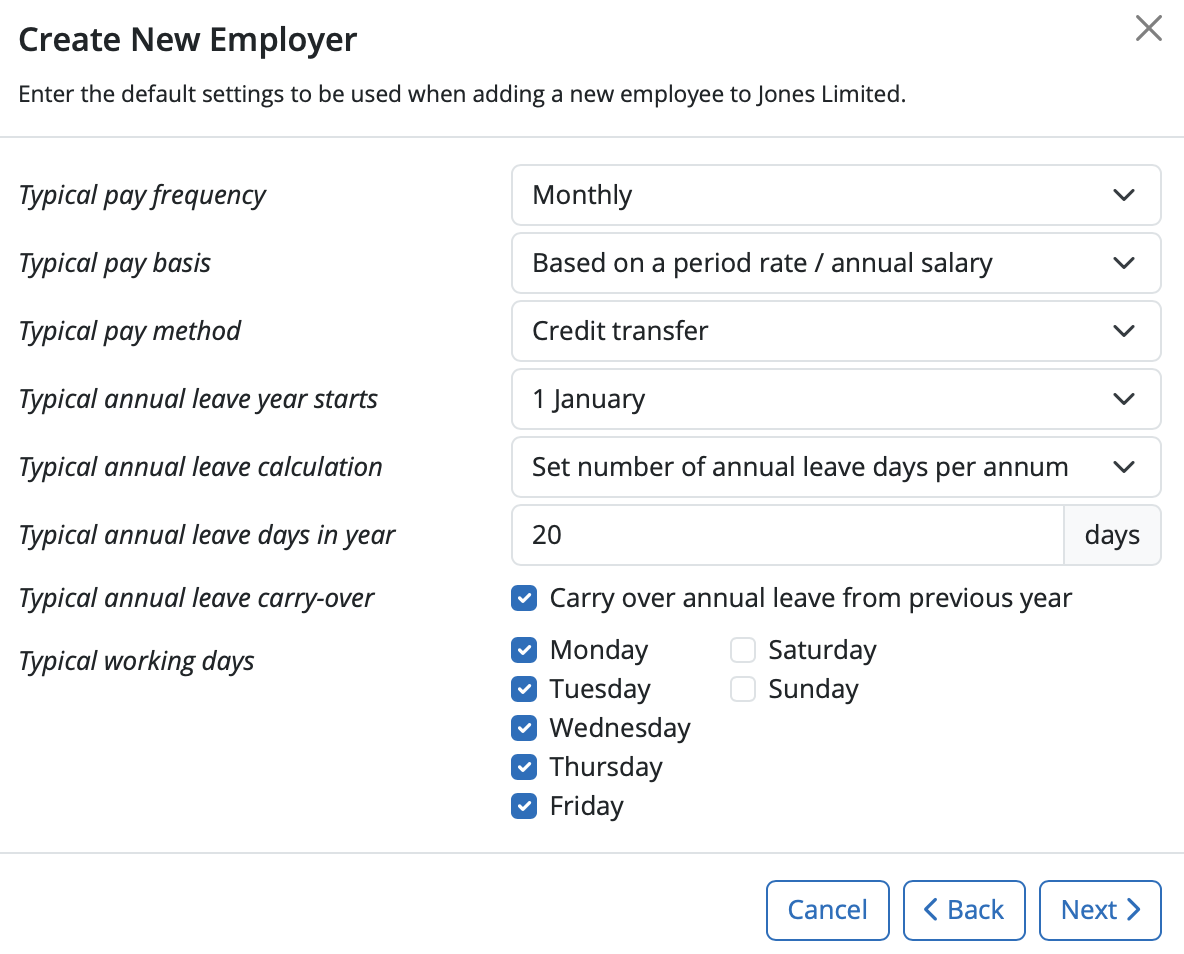
This section allows the user to create settings that will be used as the default when adding a new employee record.
These settings are for the typical pay frequency, pay basis, pay method, annual leave year starts, annual leave calculation method, annual leave entitlement, typical annual leave carry over and typical working days.
Select the settings you require and Select 'Next'
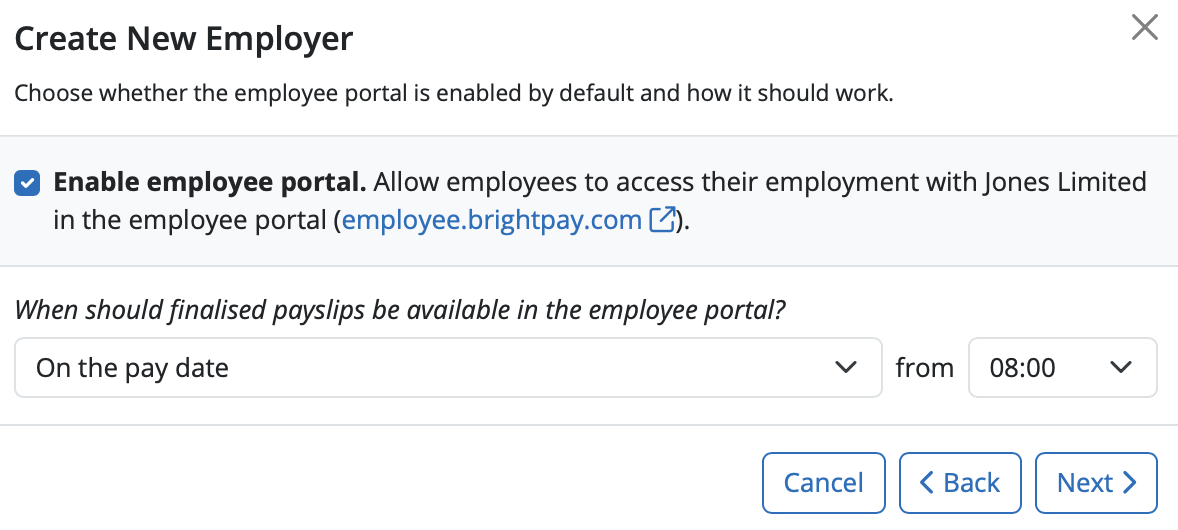
For the Employee Self Service Portal, allow access to all employees is selected by default. This can be unselected if required.
Select the date and time settings you wish employees to access payslips on their Employee Self Service portal.
Select 'Next'
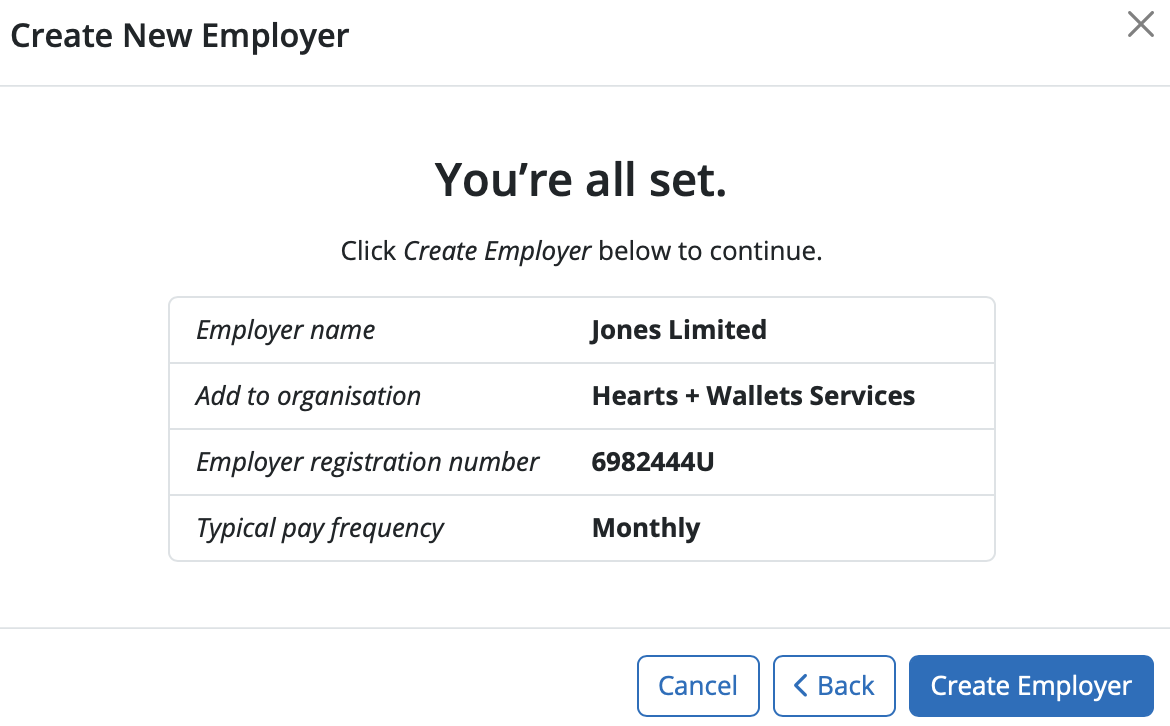
Select Create Employer in order to create the employer.
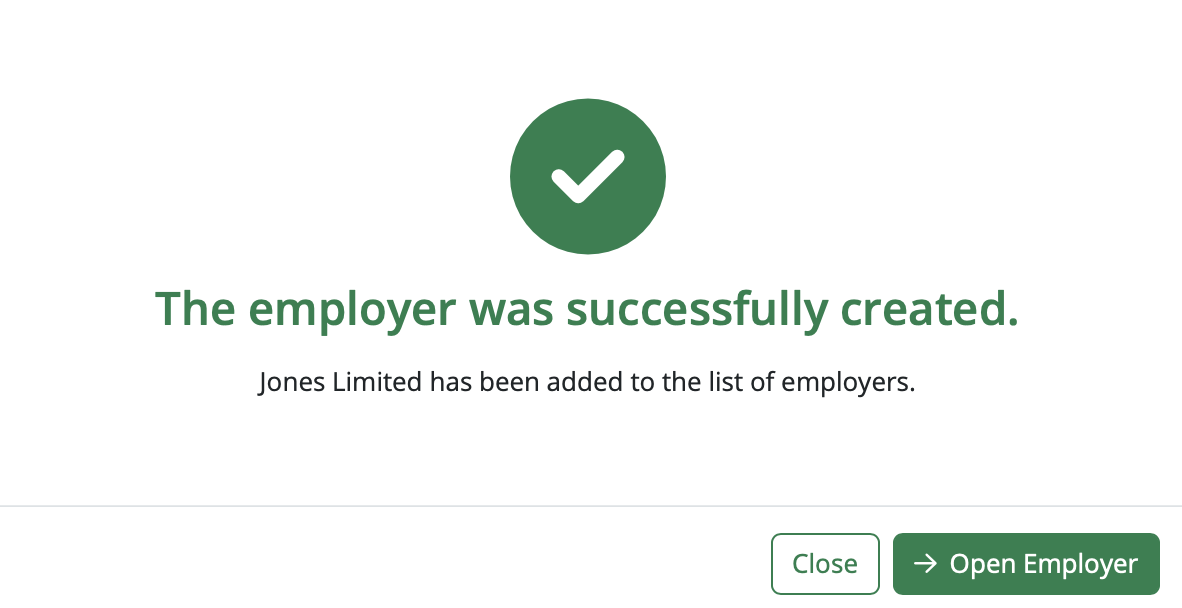
The employer was successfully created and will now be listed on the employer homescreen.
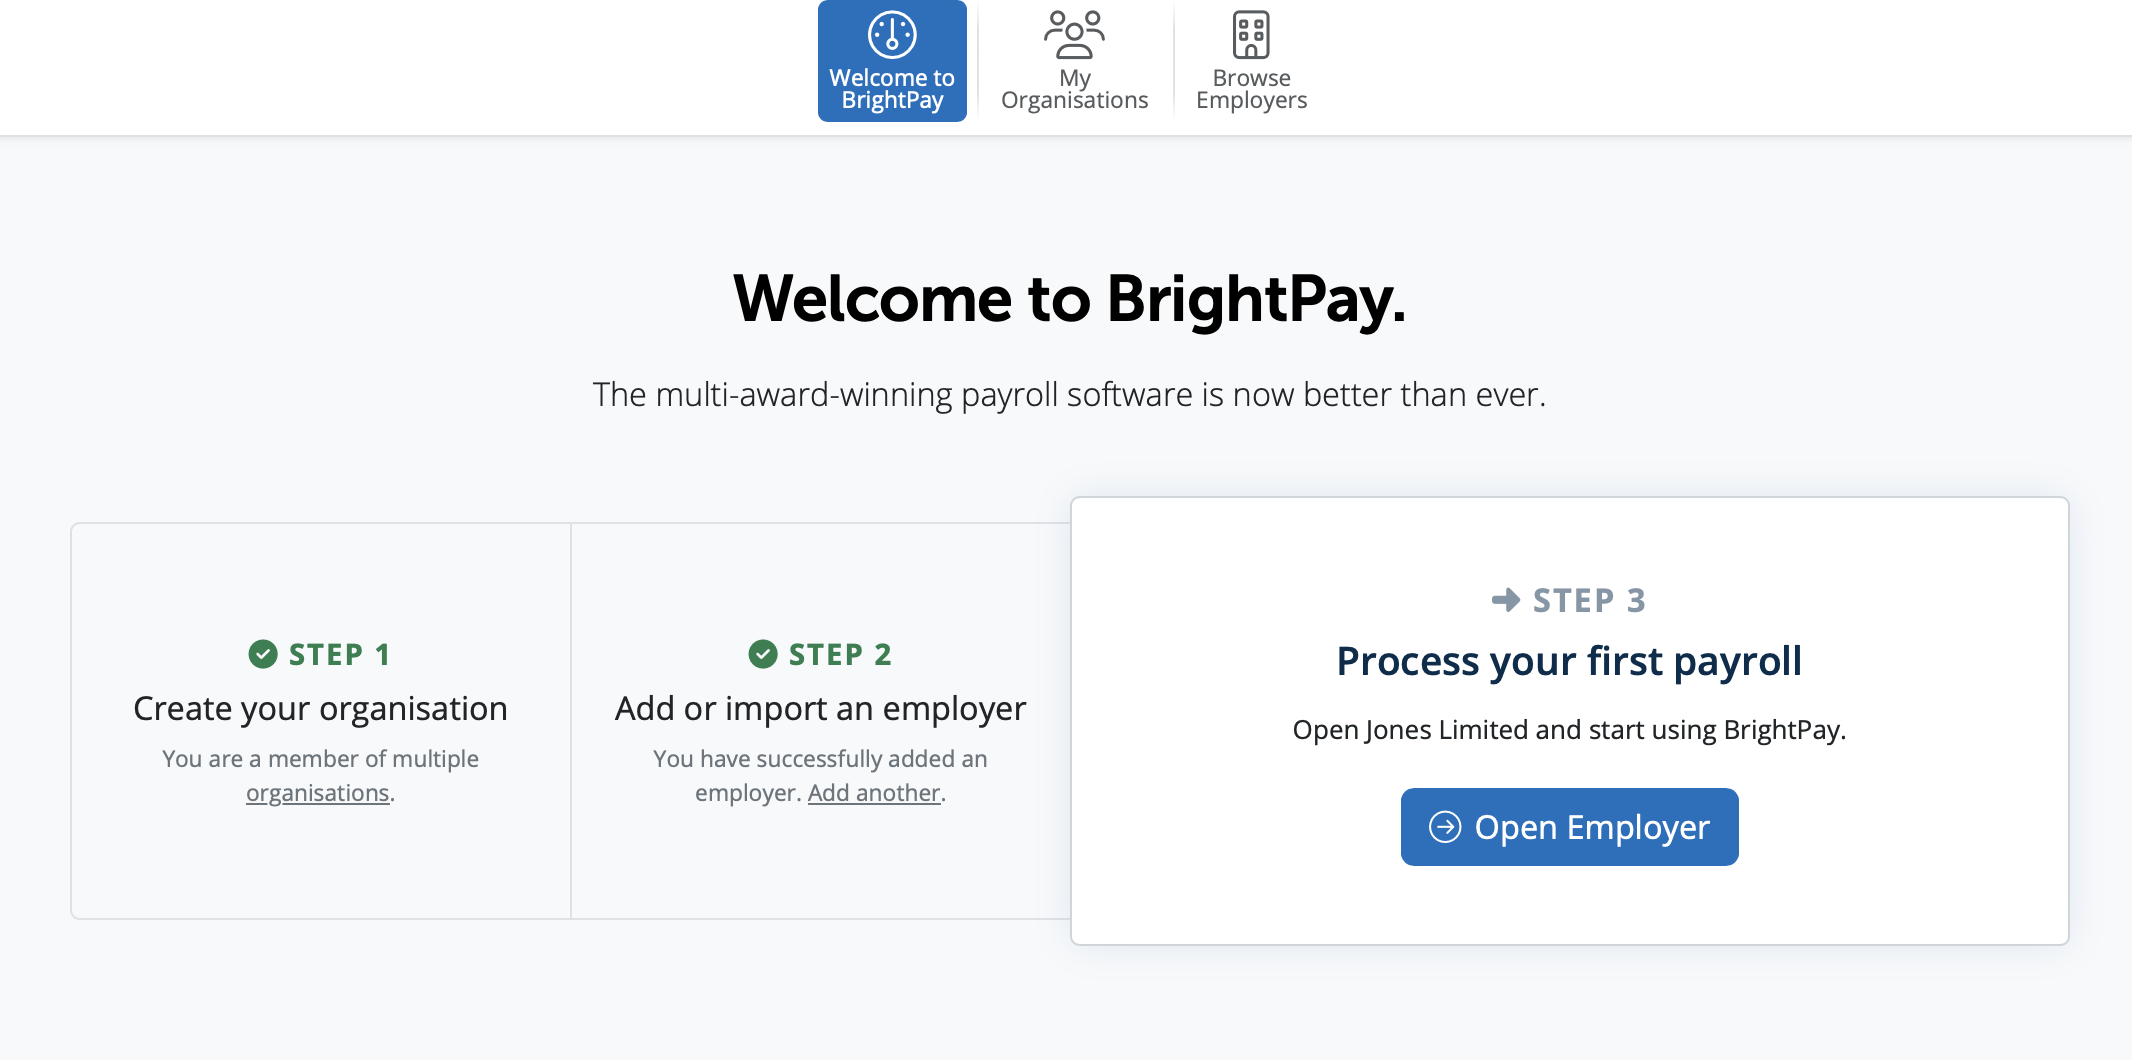
You will be prompted then for Step 3 to open your payroll to start processing your first payroll.
This process creates a duplicate record on Cloud as at the date you import, meaning all information that was processed on desktop will now appear on BrightPay Cloud for this employer - including PSR submissions, pension submission history, employee processed payslips and YTD information.
Note: If you are getting an error or the file is failing to upload onto BrightPay Cloud, check in the desktop file if there is an employer logo in the Employer section. If so, remove the logo, save changes, close the file and try to import again. You can add the logo back into the employer on Cloud under the Employer section. Also, if the filename contains certain special characters (like full stops in the middle of the name, hyphens, or &), it can cause issues - check the name of the employer file and amend if necessary before trying to upload the file again.
If you have accidentally added or imported the same employer twice in error, you can delete the duplicate by going to the 'Browse Employers' screen > Click on the spanner icon on the employer line > 'Delete Employer'. You will have to type CONFIRM to confirm you wish this action to be done.
You can safely delete the duplicate employer file in BrightPay Cloud and this will not affect your original employer or any payroll data you have processed.
Comments
0 comments
Article is closed for comments.